I don’t usually make the same quilt twice but Courthouse Steps quilts are an exception to that *rule*. Through the use of colour/value and block orientation this simple block can be made in so many ways that keep it feeling fresh and interesting.
I made two courthouse steps quilts several years ago, both were inspired by Audrie from blueisbleu blog. Audrie has made quite a few stunning Courthouse Steps quilts, often using the layout I’ve used below where the fabrics merge between blocks. The first quilt below is the mini I made for Carmen in a Flickr swap, the second, a throw size quilt that I made for my friend Penny (I blogged about it here).

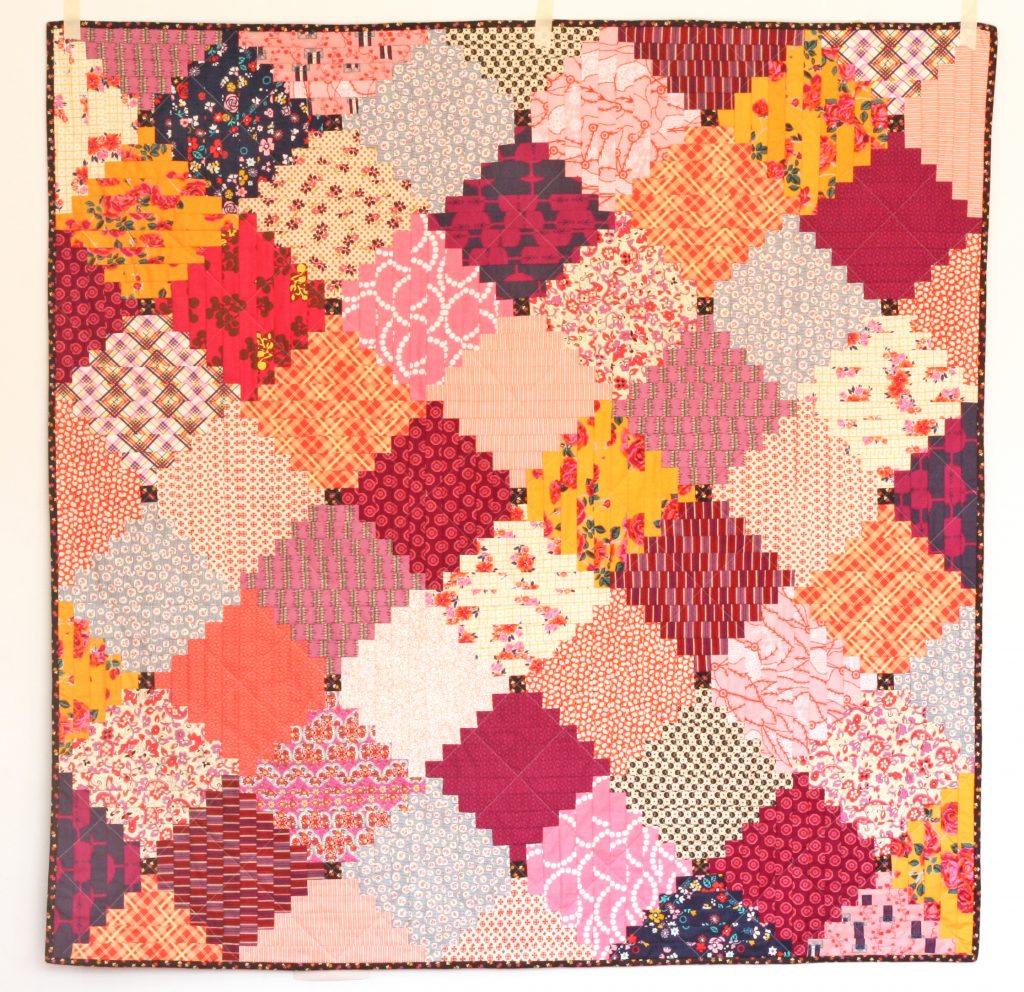
These quilts were really fun to make but for my latest version I wanted to use scraps and sew mindlessly, the above quilts require a little planning to make sure the fabrics run seamlessly across the blocks. For my new quilt I chose two main colours (blue and white/low volume fabrics) and Kona Spice as the centre square or “hearth”.
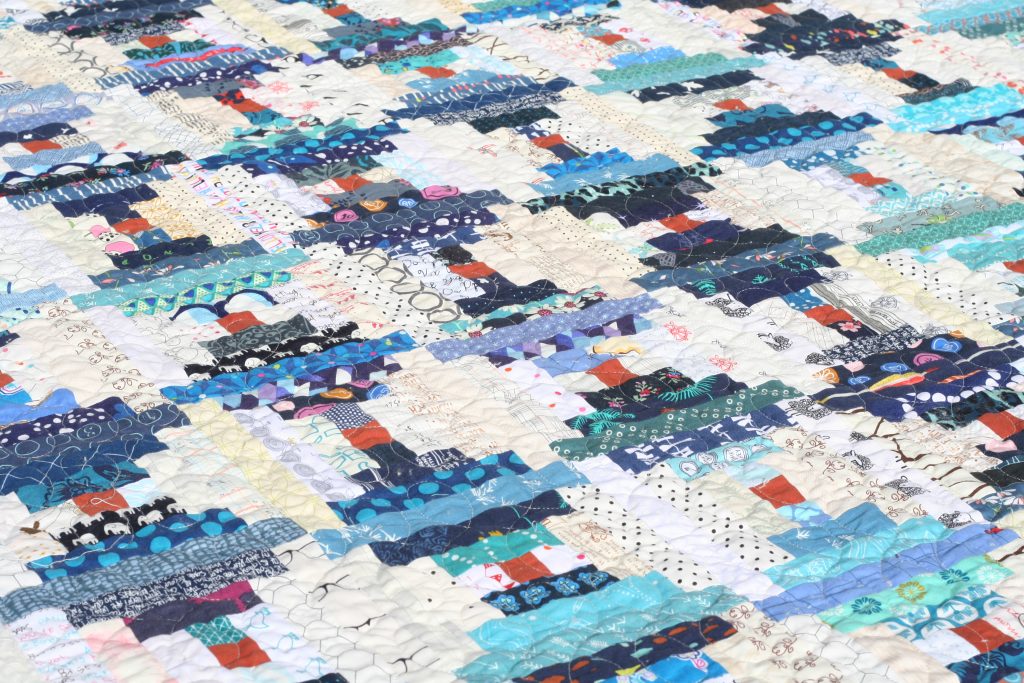
Can you tell that I didn’t give much consideration to colours and fabrics!? I cut a huge pile of scraps into the required strip sizes (the strips are 1 1/2″ wide) then just grabbed a strip and sewed. I chain pieced several blocks at once and put them up on the design wall as soon as they were done.
All that mindless sewing got me thinking about the different ways two colour courthouse steps blocks can be put together. I’ve mocked up some blocks and quilt layouts in EQ to see how value and block orientation impact the final quilt. Want to see?
The Courthouse Steps block is a variation of the Log Cabin block, with the strips/steps sewn to opposite sides of the centre square. Playing with light and dark values gives the following two layout options. I’ve come up with the not very original names of version A/Spool Version and version B/Barbell Version…

Courthouse Steps Block Version A (the spool version)
This version is made by sewing two light squares on opposite sides of the centre square (making a ‘spool’). The block finishes with two dark strips so that in repeat the dark sections are larger than the light sections.

Here’s how version A looks in repeat. You can see the dark sections are larger than the light sections, and merge into each other;

The layout below also uses version A in repeat but this time alternate blocks are rotated by 90 degrees. Again the dark sections run into each other.

Courthouse Steps Block Version B (the barbell version)
Switching the position of the light and dark values gives version B. Two dark squares are first sewn on opposite sides of the centre square (making a barbell, or the letter ‘I’ lying on it’s side in this image).
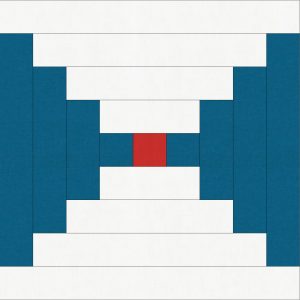
Here’s how Version B looks in repeat. Now the light sections are larger and merge into each other.

Using Version B in repeat with alternate blocks rotated by 90 degrees gives the following layout.

Using both version A and B
Using both version A and B in a checkerboard layout looks like this. The dark and light sections no longer merge into each other.

The next layout again uses both versions A and B but this time version B is rotated by 90 degrees so that the dark sections merge together to form columns or “lanterns”.
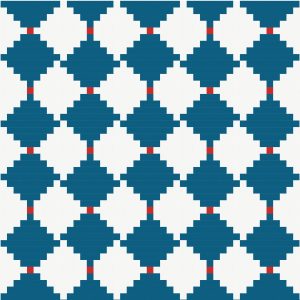
More ways to change the look
There are so many ways to mix up the look of this block. Here’re a couple more.
Changing the number of steps.
The above mockups were made with 4 steps around the centre hearth, the two layouts below use 3 steps.
Version A with alternate blocks rotated 90 degrees (3 steps).

Version A and B, with version B rotated by 90 degrees (3 steps). This is the layout I used in my scrappy quilt.

The quilt I made a few years back uses 5 rounds of steps and merges colours between the blocks. I love this way of making Courthouse Steps blocks but it does require more planning. Version A and B don’t apply to this quilt as it doesn’t rely on value, but to keep the blocks of colour the same size, alternate blocks are rotated. Can you tell that alternate blocks have been rotated?

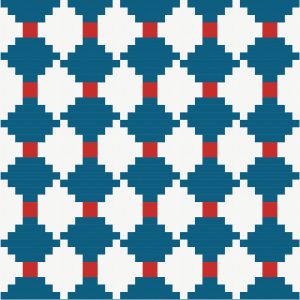
Starting with a larger square at the centre
This layout is especially fun if you want to use fussy cut fabrics in the centre square. Check out these blocks by Cat for my favourite example of this layout.

This is just the beginning of the possibilities, there is so much fun to be had with these versatile little blocks, it’s no wonder they have an enduring popularity. Pop over to my Log Cabin pinterest board if you’d like to see more examples of log cabin quilts. If you’re inspired to make a courthouse steps quilt let me know, I’d love to see! Oh and I’ll be back soon with more photos of my finished quilt, I just need to sew the binding on, yay!

4 thoughts to “A Guide to Courthouse Steps Quilt Block Layout Options”
I remember your quilts and have always loved the look of both! I want to make a courthouse step quilt for a long time now, but I’m not the best in repetitive quilt blocks as I get easily bored! Thanks for posting all the possibilties of this fabulous block!
Fantastic overview, Rachel! And I still absolutely love the courthouse steps mini that you made for me so many years ago<3
Thank you so much for putting this together, it’s such a help. I haven’t sewn courthouse steps yet but they are definately on my list. Thanks again!
Hello, I am trying to find a pattern or guide to fabric requirements and cutting guide for your A block that finishes to 15″. If you could point me in a direction, I would so appreciate it. I like your A block because it uses four strips on each side of center, that is what I would like, and I am far too new at drafting blocks to figure this out. Thanks for any help, and your great website!